
Lab 1: Custom Messages#
Synopsis#
This lab will provide practice in creating custom messages. You will use provided code that listens for events from the mouse. Specifically, the code is listening to the position of the cursor, and any buttons pressed. You will create a custom message that is going to pass the cursor position and mouse button events across the /mouse_info topic. You will develop a controller that will subscribe to the /mouse_info topic and then publish a Twist message to /cmd_vel according to the requirements in the lab handout.
Due by 0730 Lesson 13 (M or T depending on which day your class meets)#
Before starting this lab, you NEED to complete ICE5. We will work most of this together as a class, but some will be self effort to practice the concepts needed for this lab.
Lab Objectives:#
In this lab, we will be building upon everything we have learned in the first 5 modules of the course. We are going add functionality to use basic code that I have created to:
Read the mouse position
Detect button or scroll wheel events from the mouse
Send custom message to controller
The Controller will then scale a Twist message on the
\cmd_veltopic to drive the robot
In short, we are going to use the mouse to drive the robot. Moving the mouse cursor up or down on the screen will drive the robot forward and backward. Moving the mouse cursor side to side on the screen will cause the robot to turn left or right. There should also be a dead zone within +/- .25 of the center of the screen where no movement will occur The code template that I have provided for the mouse client depends on a couple of different libraries. We are going to use the python installer (pip) to install two libraries, pyautogui and pynput.
dfec@master:∼$ pip install pyautogui
dfec@master:∼$ pip install pynput
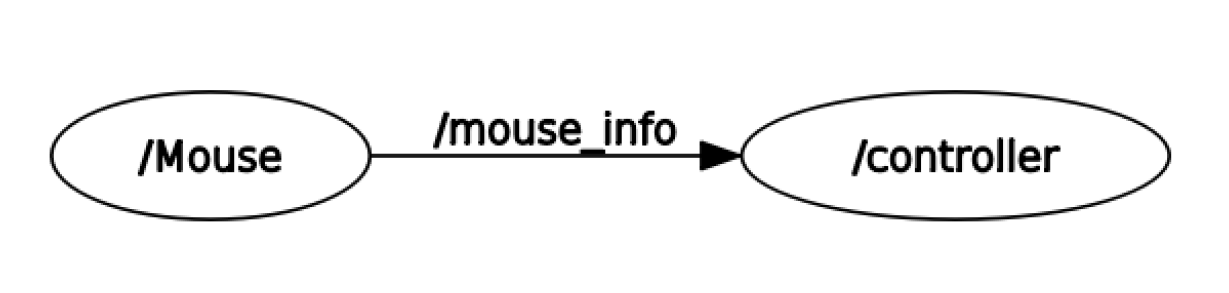
Essentially the code you are going to create will develop the following graph. This graph below does not have the robot nodes on it, so you won’t see the /cmd_vel topic active. However, you will either need to use the turtlebot simulation or your actual robot to prove that the code is working. Part of your lab report will require you to show the complete graph.
Mouse Node:#
The Mouse node will be created by the mouse_client_OO.py code. The framework for this code is provided here. Look for the TODO sections to see where you need to edit the code. The Mouse node will primarily detect mouse position and events and publish a custom MouseController message that you will create in a lab1 package within the master folder of your repo.
Controller Node:#
The controller node is created by the turtlebot_controller.py code. I have also provided the framework for this code here. The controller node will subscribe to the /mouse_info topic and publish a Twist message to the /cmd_vel topic
Your Custom MouseController Message.#
Your MouseController message needs to have precisely the following 4 fields in it:
Header
status (of type
std_msgs/Bool)xPos (of type float32)
yPos (of type float32)
You will need to use the procedure highlighted in ICE5 to create this custom message. Notice that the second field in the messages above is a message from the std_msgs group in ROS. Remember, this is an acceptable field based on what you learned in Module05. If you want to get more familiar with the Bool
message, you can use the built in ROS functionality to see what the format of this message will be:
dfec@master:∼$ rosmsg info std_msgs/Bool
Additional Requirements.#
Your code must adhere to the following additional requirements:
All code and message files should be stored in a package within the master folder called lab1. DO NOT EDIT THE CODE FILES IN THE Module05 FOLDER IN THE ECE387 CURRICULUM!!!
The controller will only be activated by scrolling down with the mouse (on the center scroll wheel)
The controller will be immediately deactivated by scrolling up with the mouse.
If the controller is deactivated, the robot will stop all movement, until an override by another module.
You don’t need to handle the override at this point, but your controller code should be organized and flexible enough that it can handle additional capability in the future.
Report.#
Complete a short 2-3 page report that utilizes the format and answers the questions within the report template. The report template and an example report can be found within the Team under Resources/Lab Template.
Turn-in Requirements#
[25 points] Demonstration of mouse control of Turtlebot (preferably in person, but can be recorded and posted to Teams under the Lab1 channel).
[50 points] Report via Gradescope.
[25 points] Code/ROS package: push your code to your repository. Also, include a screenshot or the raw text of the turtlebot_controller.py and mouse_client_OO.py files at the end of your report.