
Git Repo Setup#
Purpose#
Setup GIT repositories and access on the Master.
Note
Don’t worry if it doesn’t work right. If everything did, you’d be out of a job.
Create a Repository within the GitHub Classroom#
If you don’t already have a GitHub account, create one. It’s best if your username is something identifiable (e.g.,
stanbaek).Once your account is ready, go to the ECE387 Classroom.
Your afacademy email address has been preloaded to make joining easy. While I prefer your school email address, you may use another email if desired. For this, click
Skip to the next step: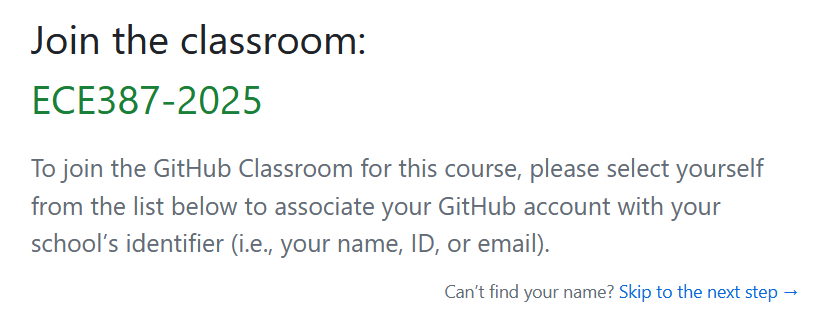
Select
Accept this assignment.Navigate to your repository and note the repository URL. Save this link—it’s the easiest way to check if your repository is updated.
Go to
Settingsand change your repository name toece387-lastname(e.g.,ece387-baek). Use all lowercase, your last name only, and include the dash.Important
Please name your repository
ece387-lastname(all lowercase, with a dash). This makes it easier for instructors to locate your repository. If not, points will be deducted.
Set Up GitHub SSH Key on Master#
This section assumes you already have a GitHub account.
Create an SSH key for your GitHub account by running the following command. Use the same email as your GitHub login:
$ cd
$ ssh-keygen -t ed25519 -C "your_email@email.com"
When prompted to specify a file path, press
Enterto accept the default location (~/.ssh/id_ed25519).Start the ssh-agent in the background and add your SSH private key:
$ eval "$(ssh-agent -s)"
$ ssh-add ~/.ssh/id_ed25519
Open the public key using your favorite terminal-based text editor. This step is easier via an SSH connection from a GUI-based desktop machine, as it allows you to copy the public key to your GitHub account:
$ nano ~/.ssh/id_ed25519.pub
Copy the entire contents of the file. Maximize the window to ensure you don’t miss anything, including the GitHub email.
Open a web browser and log in to your GitHub account.
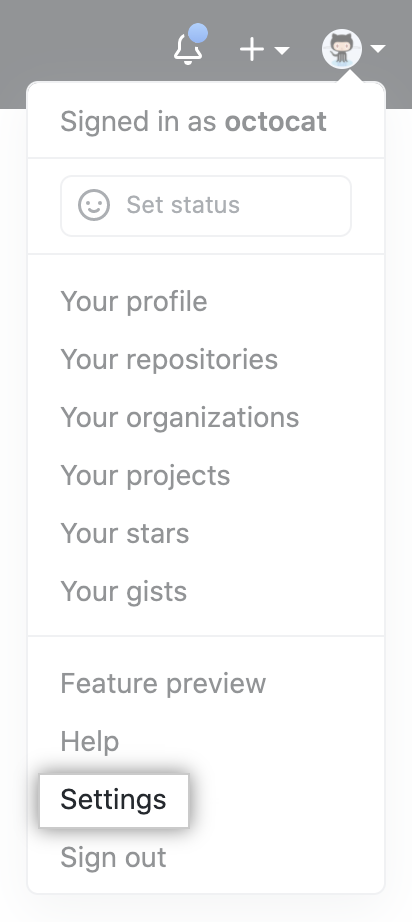
In the top-right corner of any page, click your profile photo, then select Settings:
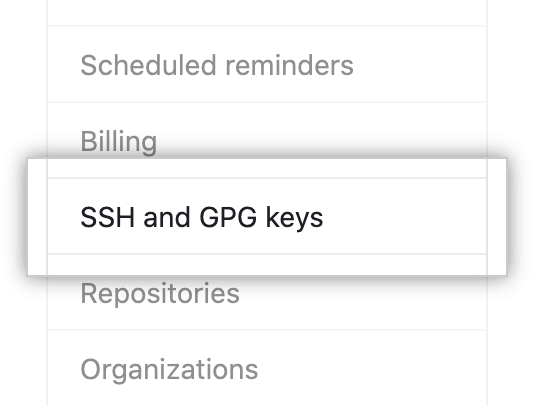
In the settings sidebar, click SSH and GPG keys:
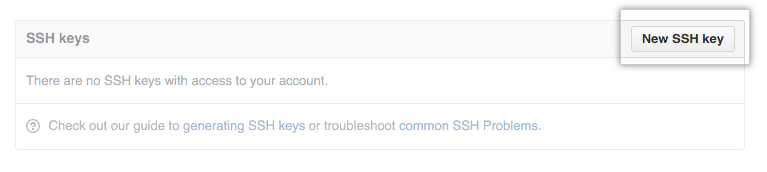
Click New SSH key:
In the
Titlefield, provide a descriptive label for the key, such asmaster0.Paste the copied key (from the
.pubfile) into theKeyfield.Click Add SSH key to save it.
Clone Repository to Your Master#
On the Master, open your GitHub repository and copy the repository address using the SSH mode:
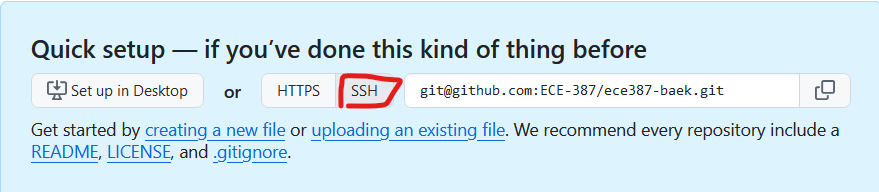
Open a terminal and create a workspace source folder:
$ mkdir -p ~/master_ws/src/
$ cd ~/master_ws/src
Clone your repository:
$ git clone git@github.com:ECE387/ece387-lastname.git
Move into your repository you just cloned:
$ cd ece387-lastname
Update your Git email address and name:
$ git config user.email "you@example.com"
$ git config user.name "FirstName LastName"
create a directory named
lab1and move into it.Create an empty file called
COLCON_IGNORE. This file tells colcon to ignore this directory when building ROS packages, which prevents accidental compilation of files that aren’t meant to be part of your workspace.Run the following command to append your full name and section to a file named
README.md. Since the file does not exist, it will be created automatically:$ echo "# Your full name, Section" >> README.md
Verify that the file was created correctly by running:
$ cat README.md
If the file was created successfully, you should see output similar to the following:
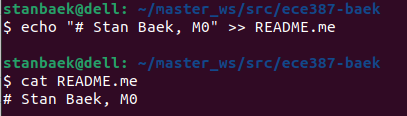
Commit and push your changes to your GitHub repository:
$ git add -A
$ git commit -m"initial commit"
$ git push